HOME / How To Fit Coving / Fitting plaster coving guide
How to fit coving and Plaster cornicing
Here at Coving shop we value our customer’s opinion and from few years back all our coving and plaster cornices we manufacture and supply are made to 2.5 meter in length.
This Guide is intended to help a DIY enthusiast in installing / fit Decorative Plaster coving and cornices; however, you should consult a professional if you are unclear about anything in this Guide.
Tools you’ll need
Saw - a fine tooth wood saw is best. Choose one with a reasonably stiff blade - if it is too flexible it may bend when cutting the plaster coving, resulting in a curved edge making it difficult to obtain a good fit with the adjoining plaster coving length.
Mitre box - ensure that it is big enough for the plaster coving you are cutting. Remember that the cornice is propped against the back plate of the mitre box - a common mistake is to lay the coving "flat" and cut as if it was architrave or a picture frame. The plaster coving is always put in the mitre box "upside down” the edge that will be fixed to the ceiling should be on the base of the box.
Adhesive – Coving adhesive ( coving adhesive is recommended for plaster coving/cornicing, available in 25kg bags, use the same coving adhesive to finish the joins and corners too). Ensure the room temperature is above 10°C otherwise the adhesive won't bond correctly.
Other tools required will be: Pencil, ruler, hammer and small nails, sanding sponge & water, filling tool, paintbrush.
Cutting plaster coving/cornicing Use a firm, positive stroke of the saw. Don't try and force the cut or cut too quickly. Hold the plaster coving cornice securely with your non-cutting hand to prevent it slipping or moving in the mitre box. If possible, try and support/raise the other end to the same level throughout so that the coving cornice isn't sloping along its length.
Installation fitting coving and plaster cornice
If you have any external corners (such as a chimney breast), start with them. Otherwise start at the first corner you see when entering the room (it is always easier to get the 1st corner of the installation correct, so make sure it is the most noticeable corner in the room).
Establish the drop down the wall from the ceiling that the coving will be fixed at, (Key scratch ceiling and wall)
and ensure this is clean and sound. Draw a line around the room at this position (or mark at various points). Ensure the line is horizontal - do not be tempted to follow the ceiling which may not be level (if there is any subsequent gap, this can be filled later). At every 500mm or so, tap a small pin nail into the wall as a temporary supporting guide (for extra support apply wood screws in to the cornice if necessary for better support). (The small nail holes will eventually be covered by the adhesive). For extra adhesion if any gaps, you can score the area between line and the ceiling. Optionally, repeat this process on the ceiling. Now, carefully measure along the wall the length you need- then measure it again! Transfer these measurements to the coving, and if it helps, also mark a line in the direction that the cut will roughly be, so that when put in the mitre box you can be assured you are cutting in the correct direction.
Make the cut, and then check if you are happy that the 2 sections meet ok. Don't worry if they do not meet perfectly - not many rooms have corners that are exactly 90°, so a perfect join is rare. You can try to trim a bit on either side corners using the saw’s front tip to eliminate the gap; it will help finishing the corners after very easily. Using Coving adhesive or drywall adhesive, apply along the entire length of the back edges of the plaster coving where it will meet the wall and ceiling. As a rough guide to coverage. Using the line on the wall as a guide and the nails as a lever, push the plaster coving firmly into place, adjusting as necessary. Now apply a thin layer of adhesive to the end of the coving where it will meet the next piece. This will give an ultra-high strength join and prevent any cracks appearing in the future (if applied correctly, the join will be stronger than the actual coving piece itself).
Repeat the above process around the rest of the room.
Remove any excess adhesive and use it to fill if any gaps- between joins and between plaster coving and wall/ceiling. Use a filling tool and a damp paintbrush to smooth over, followed by a wet sanding sponge to smooth off any remaining plaster adhesive. Finally after allowing for the adhesive to dry, remove the nails and fill the holes as above.
Painting plaster coving and plaster cornicing
Here at Coving Shop plaster coving and cornices made form top quality plasters in white finish so it will be ready to paint after 24 hours or when is completed dry. Although any paint is suitable, remember that emulsion is water based and it is highly recommended for plaster mouldings and plaster ceilings.
Please note: This guide is only for installing and fitting plaster coving and plaster cornices, if you are using polystyrene coving or plastic coving material’s, made from, it is highly recommended to use top quality silicon adhesives. Oil based primers and sealer. Finally oil paints to paint your cornice; due to cracking, discolouring and odours that need it to be sealed properly and to allow flexibility.
Plaster coving and plaster cornice, plaster dado rails or plaster ceiling roses are green products.
Coving shop products assist in many ways, the Architectural and Building industries. With basic interior products, being manufactured from a formulation of Gypsum plaster and water. Gypsum plaster is a natural resource, non-hazardous and non-combustible.
Thank you for visiting!!!
Sincerely Yours,
Manager | Coving Shop Limited
Topmost selling plaster coving and cornices


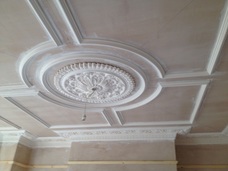
Heritage Ceiling Roses
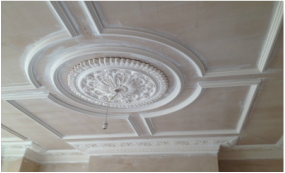
Victorian plaster ceiling roses with classic and modern plaster centres . |
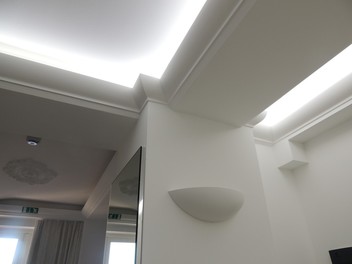
Lighting Coving Cornices
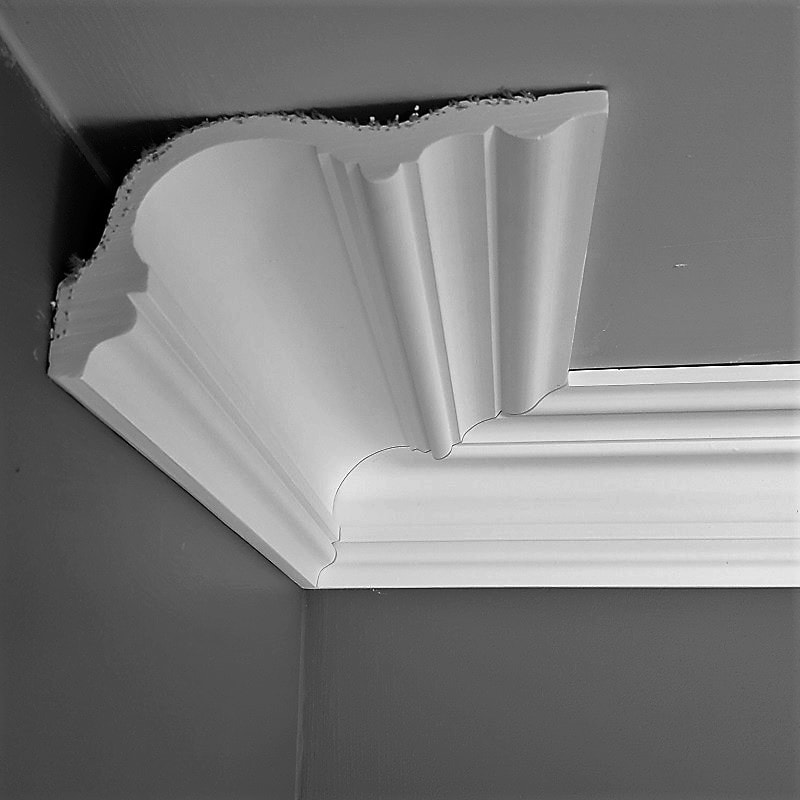
Indirect lighting coving in various sizes plaster handmade cornices. |
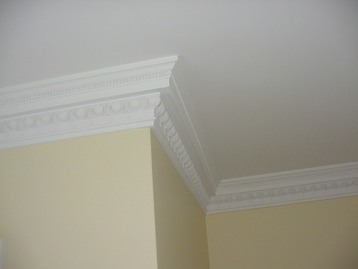
Art Deco Coving Cornices
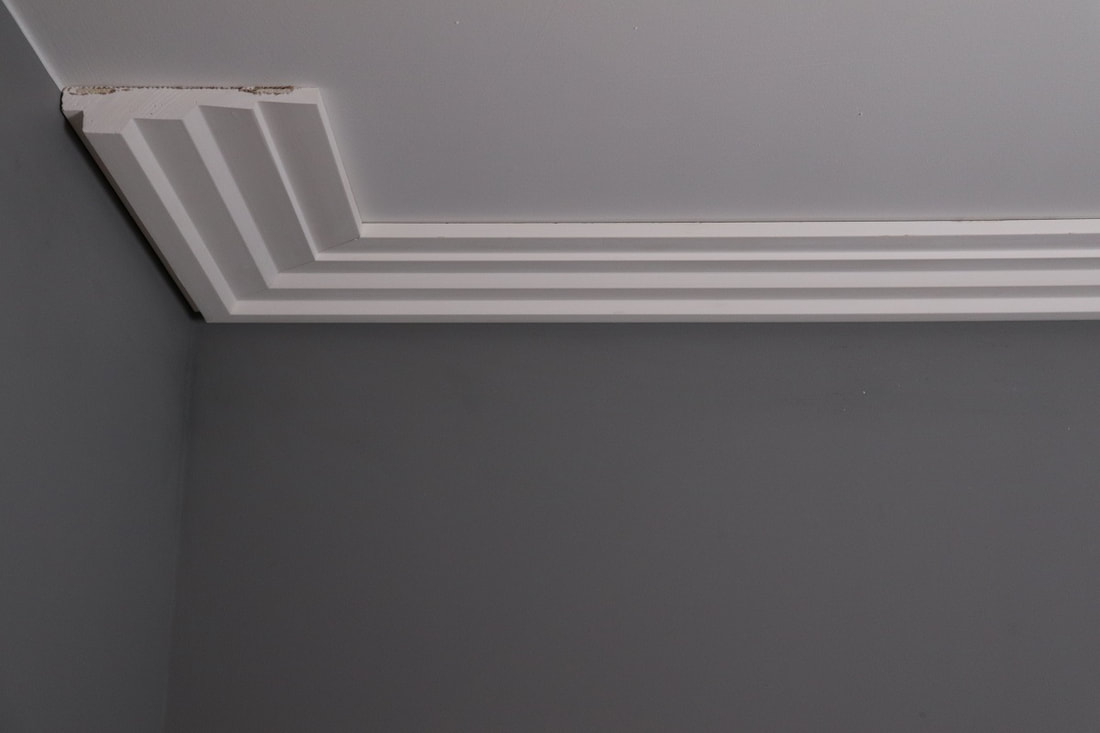
The authentic plaster art deco coving and modern plaster cornices . |